 Skip to Navigation
WordPress’ plugin database is very big. It’s so extensive, that very often it’s difficult to choose the right plugin for a specific case. Also, almost always there are at least a few plugins that do similar things. Regardless of the type of your website, there are essential WordPress plugins that are always useful.

- Where can I find plugins for my WordPress site?
- What are some must-have WordPress plugins?
- Best WordPress plugins for eCommerce store
- WordPress website with marketing plugins
- Plugins for WordPress blog posts
- Social media feed plugin for WordPress
- Recommended builder plugin for WordPress
- WordPress plugins and WordPress themes
- Free WordPress plugins and security plugins
- WordPress backup plugins
- WordPress caching plugin
- WordPress automation plugin
- Best WordPress development plugins
- Frequently asked questions about WordPress plugins:
- Conclusion about WordPress plugins
When we create the 👉 website using WordPress 👈, in almost every case we have to take care of several areas. Some of these areas include SEO, and re-directing old and cached links. Also, website optimization is crucial. Some of these things are set up by default. However, there are still things we need to keep in mind, regardless of the type of webpage we want to develop.
This article will introduce you to must-have plugins for WordPress in 2024. I will describe how each of them works and add something about cost. Lastly, I will convince you why you need this particular WordPress plugin. Let’s get to it!
Where can I find plugins for my WordPress site?
You can find plugins for your website using the WordPress plugin directory. In this directory, you will find over 55000 plugins to choose from. All WordPress plugins are explained and have step-by-step setups. Also, you will find reviews for the most popular WordPress plugins in this directory. You can access this plugin directory online or using your WordPress dashboard.
What are some must-have WordPress plugins?
1. Advanced Custom Fields
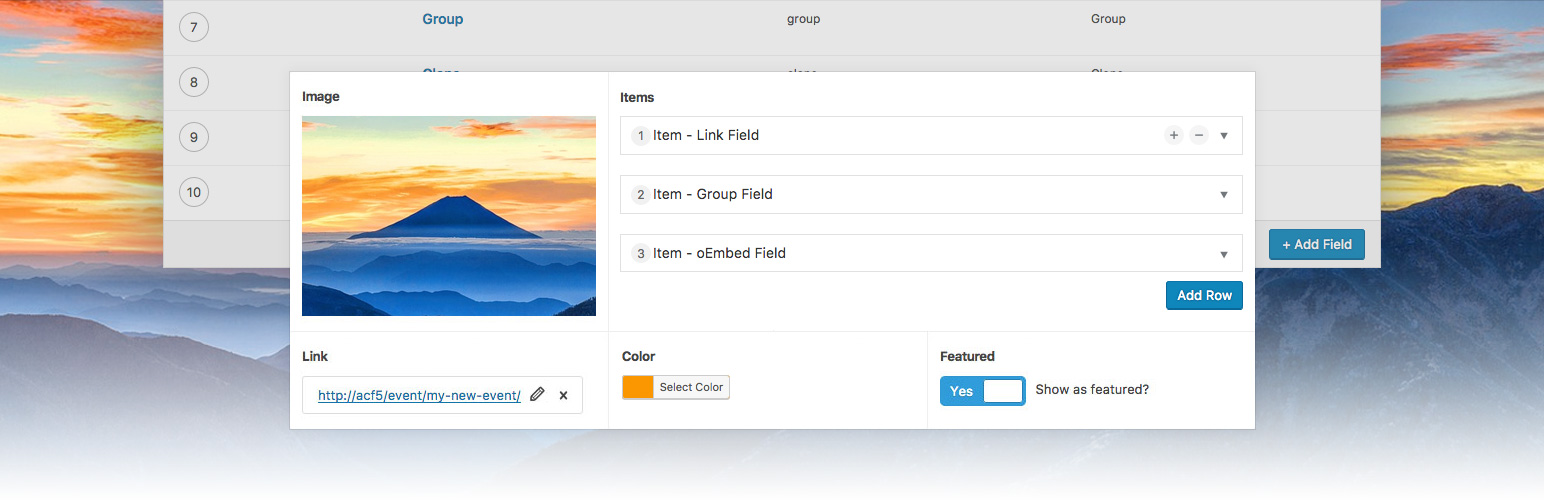
Advanced Custom Fields is the most popular plugin to extend WordPress functionality. This WordPress plugin is mainly for website developers. With its help, we can create any field we want and add it all over WordPress. This includes posts, pages, taxonomies, users, etc. Once added, we can display it also anywhere we want. All of its functions are very well documented, so it’s easy to find the answers that are bothering us. It’s simple, intuitive, and popular (more than 1 million active users), so there is a lot of helpful information on the internet. It’s one of the most useful WordPress tools when we develop a custom theme, and that’s why it’s in first place on our must-have plugins list. More about ACF here.
Advanced custom fields also has a free version and a pro version that offers the following capabilites:
- Repeater field this allows you to repeat the same field over and over again. So for example, you can have copies of the same content or extra blocks. You can have multiple profiles, slides, call to action buttons etc.
- You can have custom block types using a PHP framework. We are able to develop bespoke options when it comes to themes and templates.
- You are also provided with a flexible content block editor. You can structure your content in simple block form. Using just a few clicks you can drag and drop blocks into any layout you want.
- Custom gallery fields that can help you manage images and various other attachments
- Another key feature you gain with this is the ability to clone. This WordPress plugins feature allows you to select and display any field for any duration of time.
2. WP Rocket

A very powerful caching tool that helps to optimize a WordPress website and decrease loading times. It dynamically generates cached copies of files and offloads the server. Here are a few of its features: lazy loading for images, iframes, and videos. Additionally, minifying CSS files and combining them into one file. Also, minifying JavaScript and combining it into one file. Lastly, delaying JavaScript script execution, and much more. It does 80% of the work required to improve optimization. Although it is not free, it’s worth buying, simply because it reduces the insane amount of work you need to do. Sometimes if the website is built correctly, the setup of the plugin is all you need to get 90+ on the mobile page speed score and close to 100 on the desktop score. Read more about this plugin here.
3. WebP Converter for Media

Another one of the must-have plugins. The tool automatically converts old JPEG, PNG, and GIF formats to WebP format. It decreases the loading time of a website by serving images in a new format. This allows the user to download fewer data and makes the server to be less loaded. It works very well with WP Rocket, so it is very useful while working on website optimization. One of the advantages is that it’s completely free. Also, it doesn’t leave any trace, so if we have to delete the plugin, every image will be set back to normal format. More about this plugin is here.
4. Yoast SEO plugins

Yoast SEO is a very popular WordPress plugin. It’s the most popular WordPress SEO plugin in the WordPress plugins database. It is used to configure a website to be more SEO friendly and at the same time, it’s not overly complicated. Yoast SEO is available in two versions – free and premium. The free version allows us to manage SEO on our page only to the basic extent, most of the things are set automatically. If we want to have more control, then the premium version will be a better choice. Read more on the plugins site.
5. WP Migrate DB Pro

A very useful plugin that clones the database of the page. Especially when we work in the local environment. With this tool, we can export a .sql file and import it manually, as well as pull it directly into another database. It changes links and paths automatically, so it’s easy and very convenient to use. We can install additional plugins that will allow us to clone theme files, plugins, and media files. Moreover, we can choose the tables to export/clone, pick only the plugins that we need, and exclude the files we don’t want. Find out more about this plugin here.
6. Gravity Forms
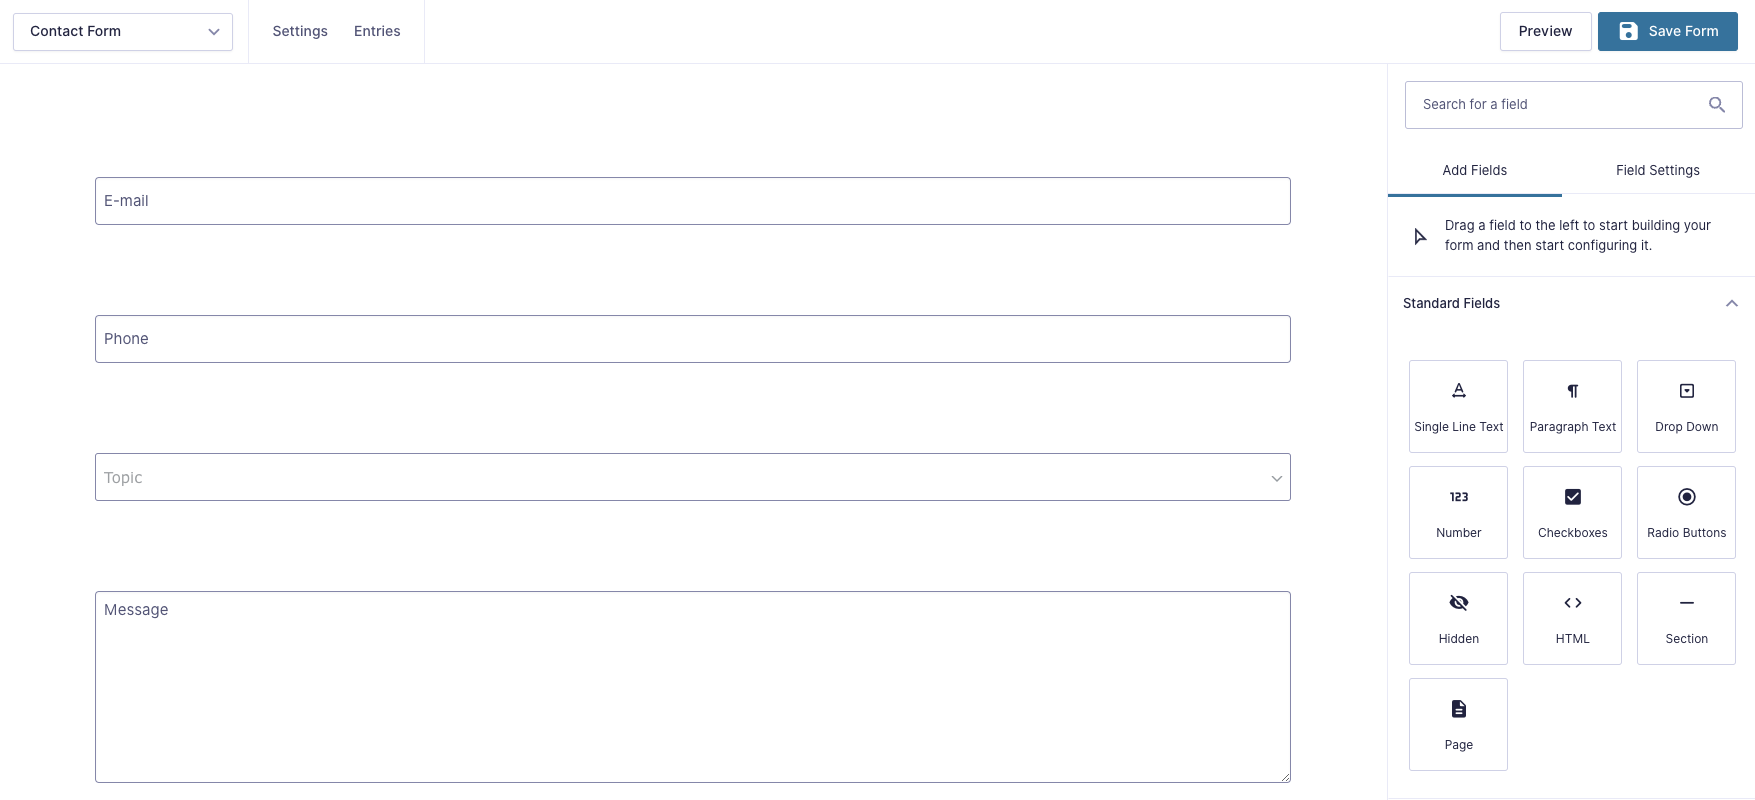
Forms are essential on almost every website. With Gravity Forms, we can build complicated forms with many fields using the simple form creation interface. We can build contact forms, newsletter forms, and any other form that we require. Once created, we can embed it anywhere on our website with a shortcode. Gravity Forms is easy to integrate with most e-mail services, like Mailchimp, Stripe, etc.
Regardless of the type of website, these are the must-have plugins for WordPress that every site should have included in its plugins list. Every website needs good optimization & fast loading speed. Along with good SEO, cookies information, and a good backup option in case something will go wrong.
7.Redirection plugin for WordPress
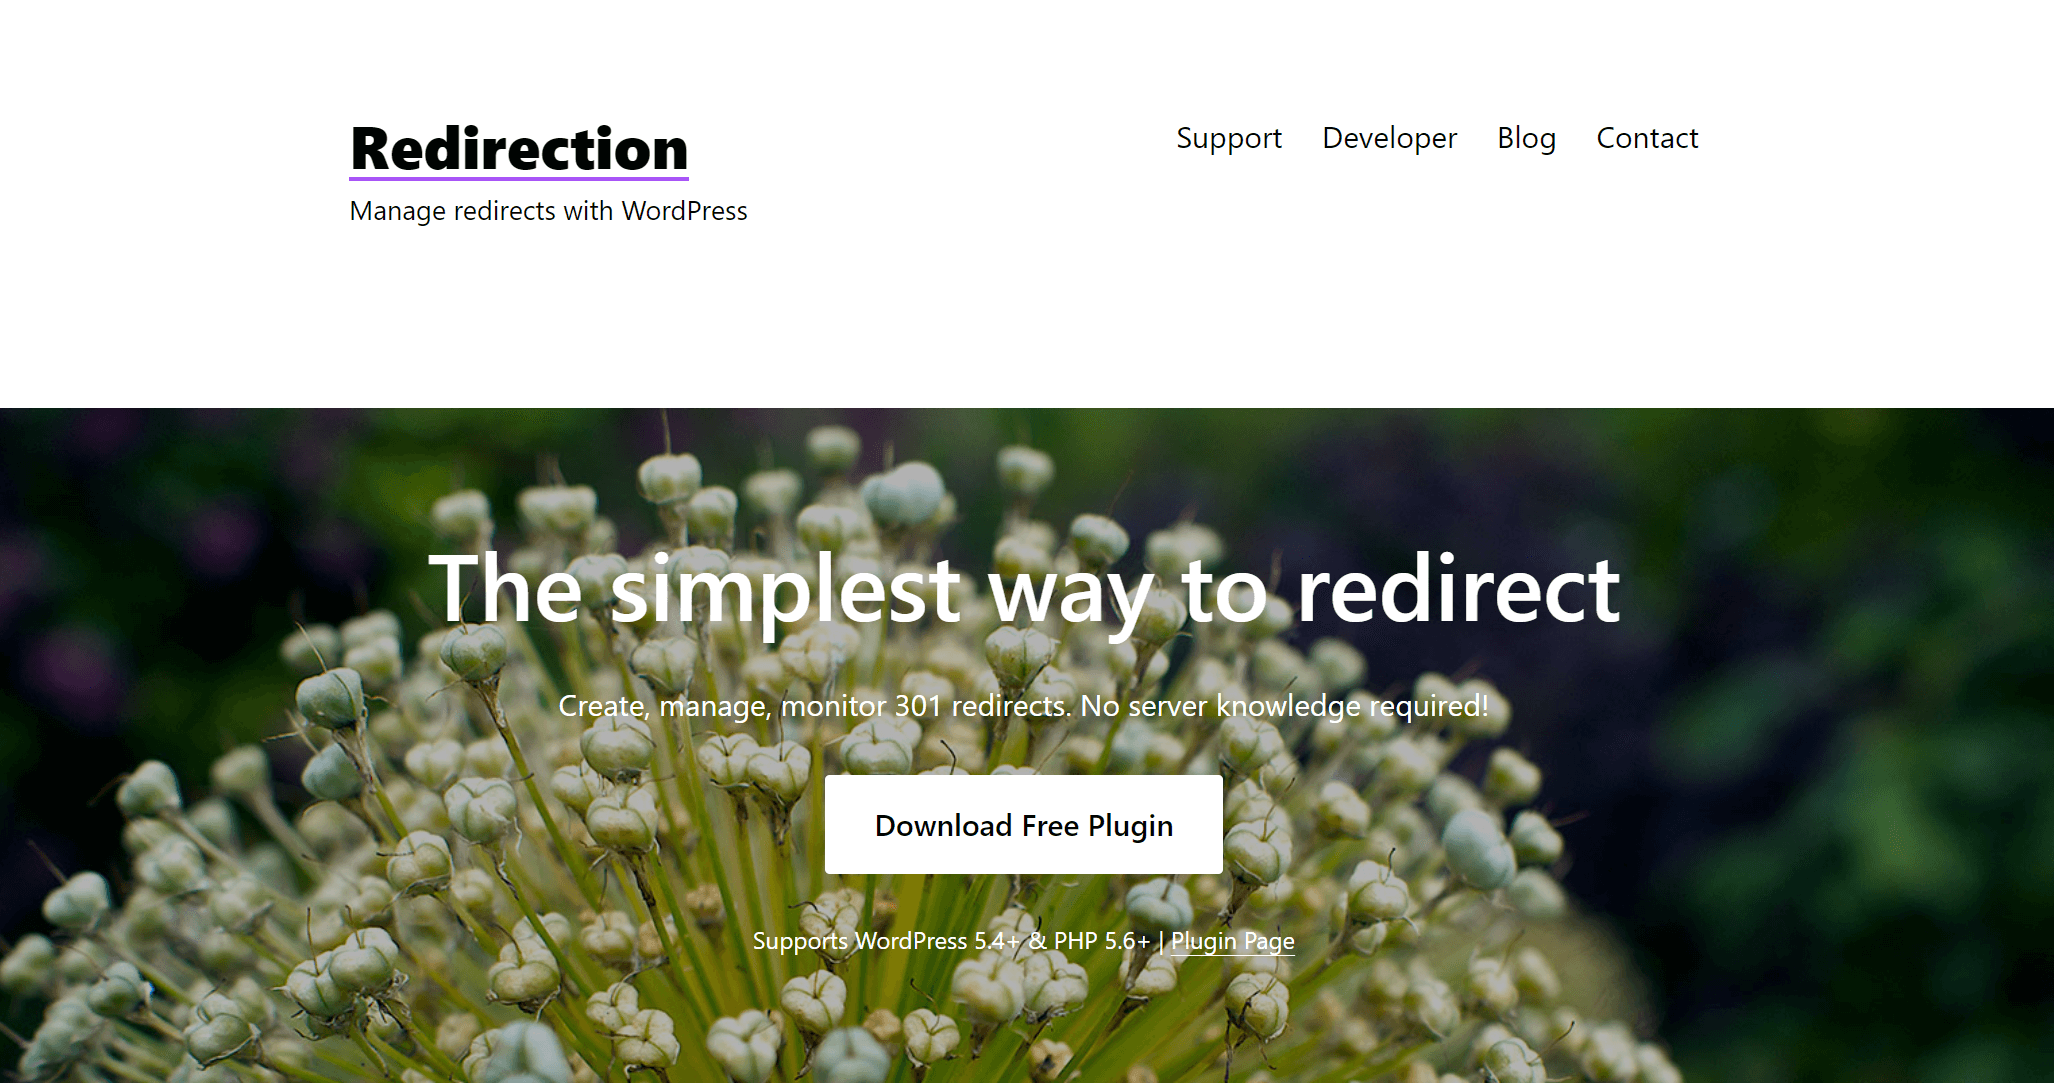
Redirection is a popular URL manager for WordPress sites. This free WordPress plugin allows you to keep track of 404 errors, manage 301 redirections, and fix any loose ends. Additionally, you can manage & merge permalinks. Lastly, you are able to add HTTP to the header of your websites, to make them more secure.
This must-have WordPress plugin has been available for 10 years. It is a great option for those who do not have Apache or Nginx knowledge.
8. WordPress Multilingual Plugin
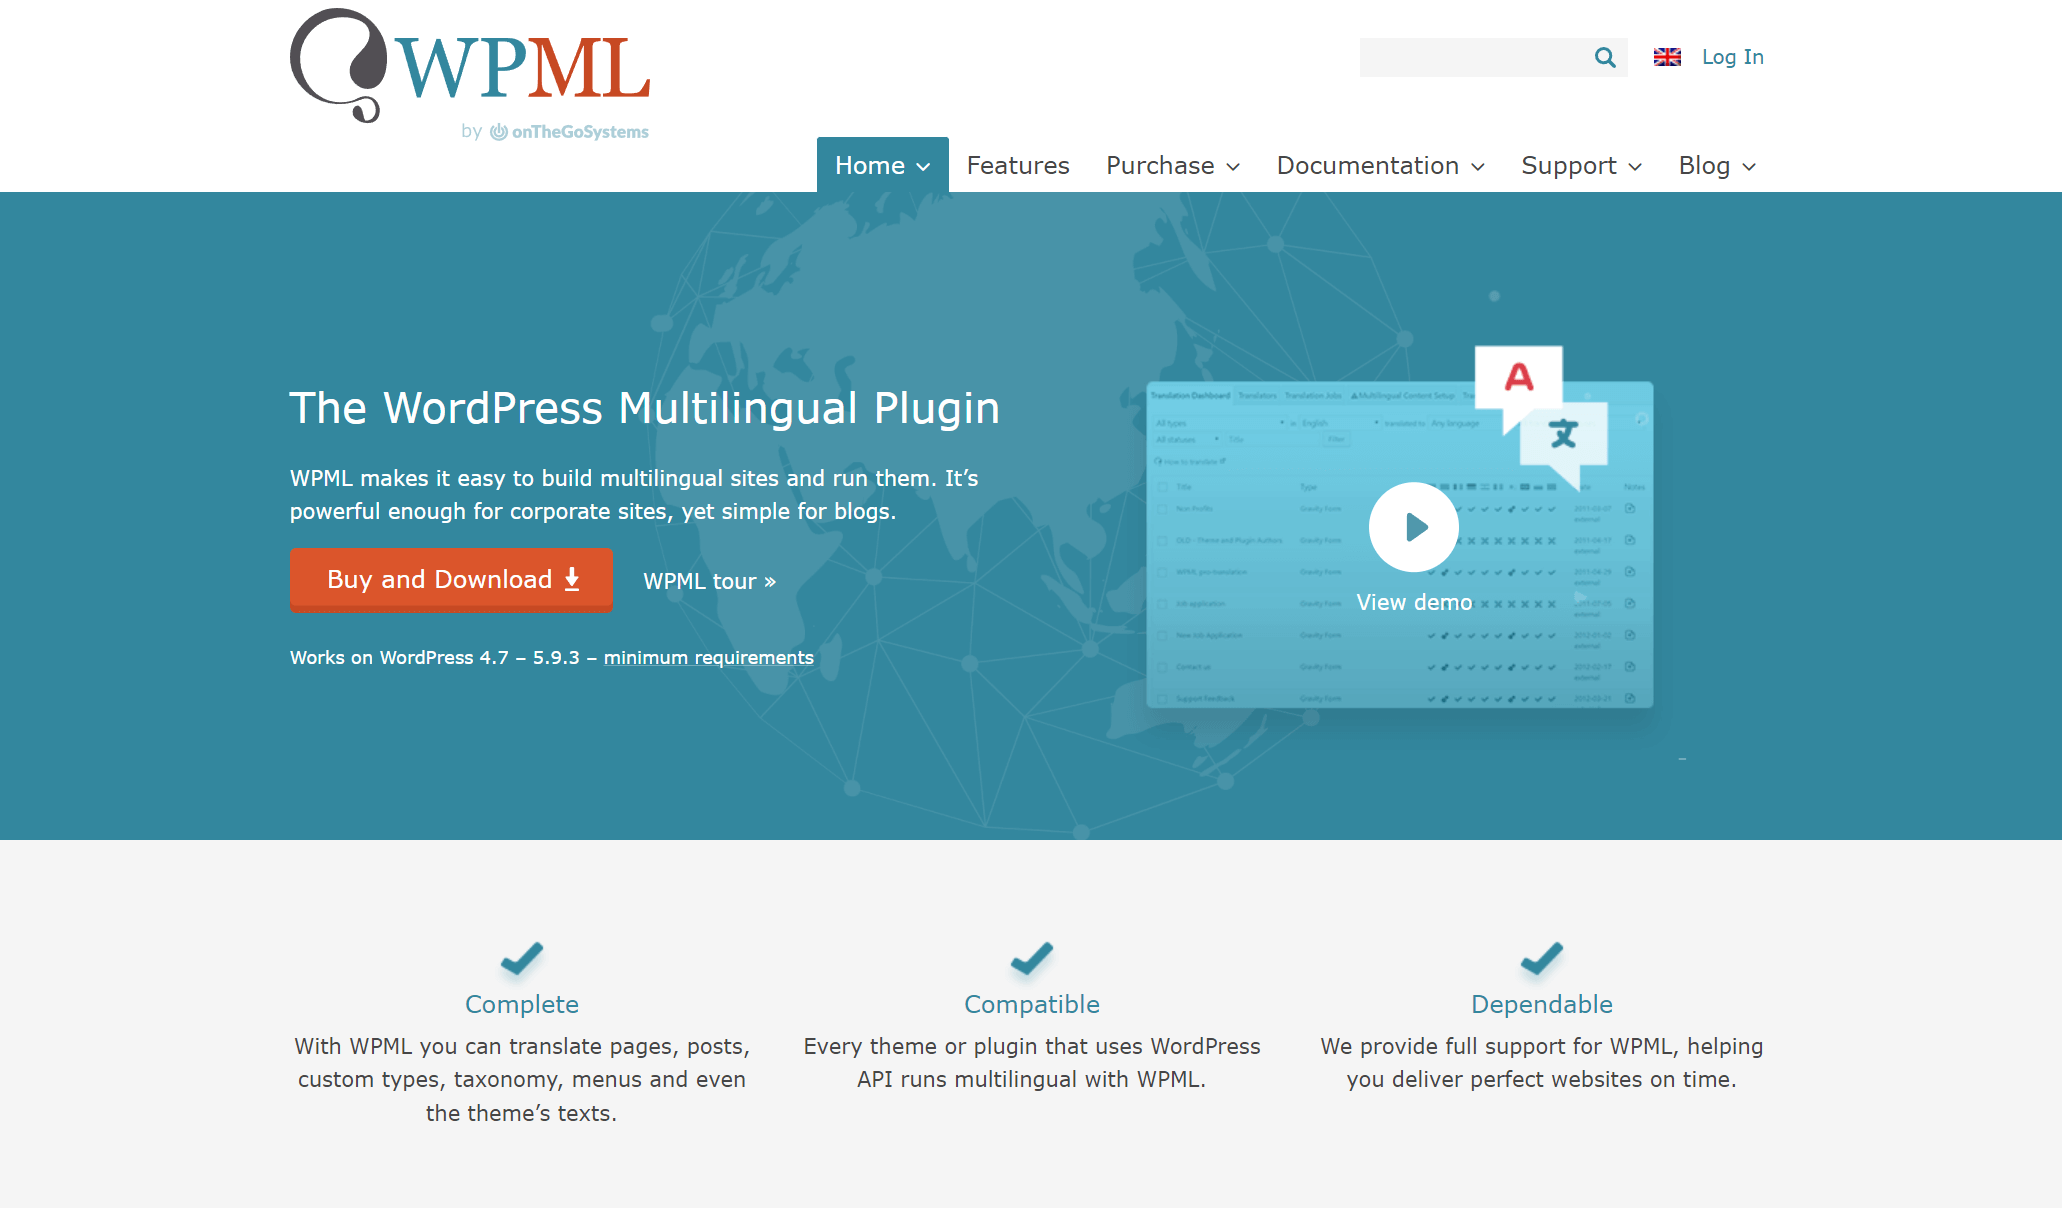
The WordPress Multilingual Plugin is a great solution for customers who are looking to provide various languages on their website or eCommerce store. This is a great plugin for companies of all sizes from large corporations to bloggers.
Some key features of this Multilingual plugin include:
- translate posts, pages, custom post types, menus, taxonomies and so much more
- comes with over 40 different languages this includes variants such as British English, Mexican Spanish, Canadian French and so much more
- it allows you to translate your entire site automatically, you do not have to sit and manually translate every single aspect
- this WordPress plugin also allows you to optimize your content for search engines in various languages
9.XML sitemaps plugin for WordPress
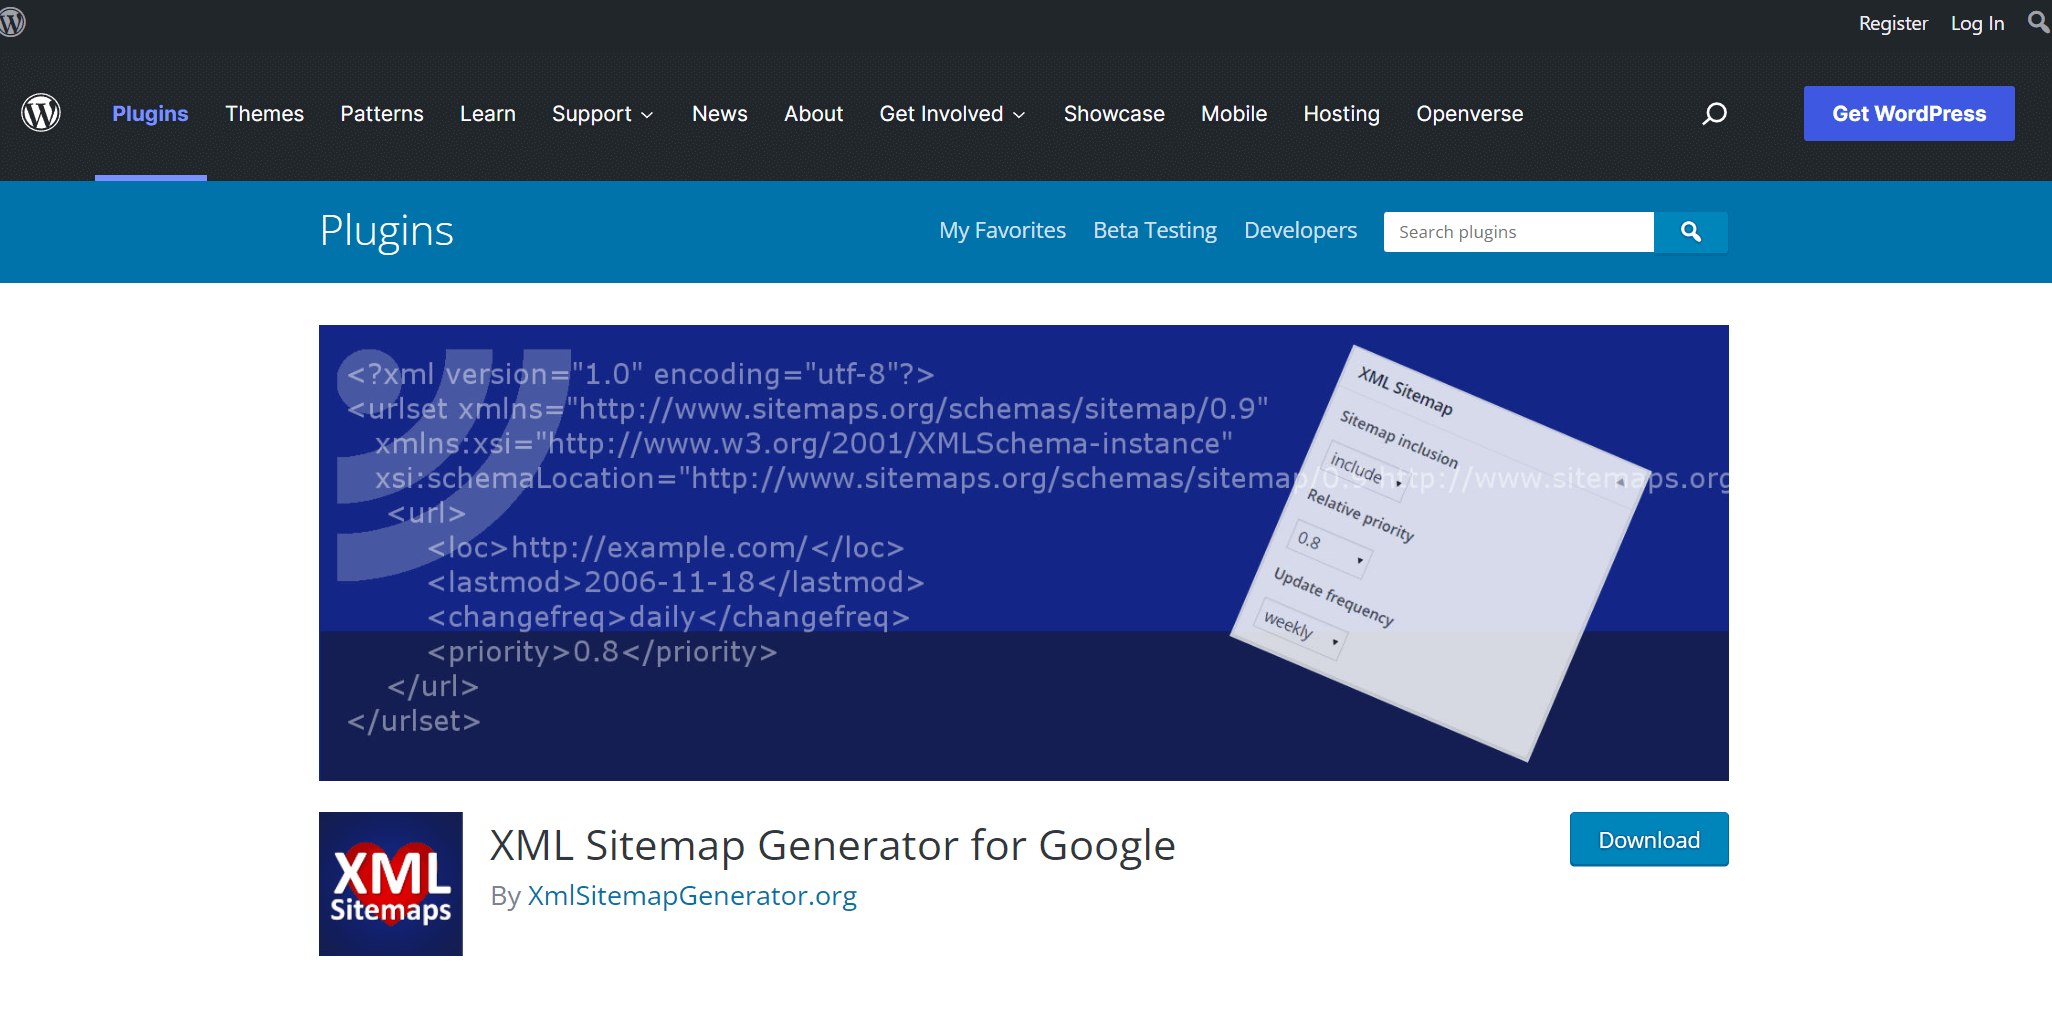
This plugin is particularly useful for on-page SEO. XML sitemaps help improve your websites or online shop ranking on popular browsers such as Google, Bing, Yahoo, and more. This plugin creates a detailed map of your entire webpage, including elements such as:
- custom post types
- taxonomies
- other plugins
10.Smush – image optimization plugin

This is another plugin that allows WordPress users to increase their website optimization by optimizing images. Smush compresses and resizes images. Additionally, it turns on lazy loading, which means that images on your site load after all other elements. This improves your page speed results on PageSpeed Insights or even Pingdom.
Smush allows you to compress images while still maintaining their original quality. Furthermore, this plugin is compatible with many other plugins and WordPress widgets.
Best WordPress plugins for eCommerce store
WordPress plugins are also available for your online shop. They are not only restricted to WordPress websites. In fact, a popular WordPress plugin to create your online store is WooCommerce.
WooCommerce eCommerce store plugin for WordPress

WooCommerce is a popular WordPress plugin in terms of eCommerce stores. It allows you to set up shop in a matter of minutes. You can set up payment options, shipping options, etc. Also, this WordPress plugin gives you the possibility to add various extensions. Extensions such as google analytics, Vimeo, MailChimp, and others.
Some key features of WooCommerce for the best WordPress online shop:
- You can sell anything from anywhere
- You can easily expand your online shop using new extensions, themes, widgets, etc.
- You can optimize your online shop in terms of search engines
- It is a flexible plugin that is not only affordable but also scalable
Multiple payment gateways plugin for WooCommerce
One WordPress eCommerce plugin that we recommend in order to offer your online shop customers different payment options is the WooCommerce multiple payment gateways. This plugin will offer your customers the ability to pay via PayPal or Pay box. Both these payment options are popular around the world and suitable for many countries. This WordPress plugin offers a universal solution for your WooCommerce shop.
WordPress website with marketing plugins
HubSpot’s WordPress plugin
It is difficult to develop an online business without marketing. HubSpot makes it simple. It provides tools for managing email lists, tracking leads & creating emails for newsletters. Also enables interaction with website customers through forms and chats, and much more. This plugin integrates your website seamlessly with HubSpot CRM. The dashboard provides an overview of your work and helps you make a better decisions while growing your business.
Plugins for WordPress blog posts
Some key related post plugins include:
- custom related posts plugin
- related posts thumbnail plugin
- related posts by taxonomy
Social media feed plugin for WordPress
Smash Balloon for social media

Smash balloon is a great plugin for your WordPress site if you want to display social media feeds on your webpage. The must-have WordPress plugin, Smash balloon allows you to integrate popular social media platforms on your site. Social media platforms such as Instagram, Facebook, Twitter, YouTube and so much more.
Recommended builder plugin for WordPress
Gutenberg builder plugin

One builder plugin that we recommend for all WordPress sites is Gutenberg. Gutenberg gives the user the opportunity to create content in block format. You are able to create different style blocks with present text, video, images and so much more. Gutenberg is also a great option for people who are looking for a drag and drop editor. Gutenberg, once set up by our developers, does not require a lot of technical knowledge. Furthermore, this plugin for WordPress is great because it does not run a lot of scripts. This means that your website will perform better and faster.
WP Mail SMTP plugin
This plugin is a great choice if you are experiencing issues sending emails from your WordPress website. This premium plugin has been used by over 2 million sites. It offers many different setup options such as:
- Gmail SMTP
- Sendlayer
- Postmark SMTP
WP Mail SMTP solves issues in terms of sending your emails directly from your site. It provides help with the reconfiguration of PHP functions wp_mail() and SMTP. This means WordPress emails will go as expected through their corresponding email inbox. It is an easy and reliable solution for WordPress users.
WordPress plugins and WordPress themes
So first off, let’s explain the difference between plugins and themes. A theme is the visual aspect of your website. This will include things such as the website layout, the logo, and the colors. Along with Google fonts, decorative items, images & more. When thinking about the theme, think about web design.
Now, a plugin, is what allows your website to be more functional. A plugin will add valuable functions such as search engine optimization, online shop creation, contact forms and so much more.
It is important to note that our bespoke themes will work with the most popular WordPress plugins. Our developers make it a point to develop a website that will meet all your needs and specifications.
Learn more about 👉Bespoke WordPress themes 👈
Free WordPress plugins and security plugins
WordPress is a widely used platform for websites making it one of the most commonly hacked platforms. WordPress has a huge target, but the goal is to minimize risk and protect against attacks if possible.
One way we can increase security is by using only premium plugins and a limited number of WordPress plugins. It is important to know that the more plugins, you use, the more code you have running on your website. Some of these codes could be of poor quality and thus increase hacking risks.
WordFence security plugin

Here, WordFence comes in, the most secure WordPress plugin ever! Wordfence is a great way to safeguard WordPress security. The first step is to install a firewall to protect your web page against hacker attacks. There are security tests in place to protect the site from attacks. You’ll also eliminate malicious software.
WordFence provides you with features such as:
- Secure logins
- Two-factor authentication
- Scanning for viruses, malware, etc.
- 24/7 response team
WordPress backup plugins
UpdraftPlus is a WordPress backup plugin
So even if we think that our website is safe and secure, it is always important to back up all your files. UpdraftPlus allows you to backup CSS and JavaScript files, HTML files, content, images and so much more.
This plugin allows you to sleep easy and not worry about hackers. You will also be secure in the case of a server crash or any unexpected updates. You will not lose your files.
This plugin comes in two versions: a free version and a premium version. The paid version includes some of the following features:
- Various add-ons such as Dropbox, Microsoft OneDrive, etc.
- More storage space such as 50GB
- Free additional upgrades
WordPress caching plugin
Caching makes your site easier for visitors and more effective. The details about this process can be complicated and boring, but the usage is simple. WP Rocket is a caching plugin that offers a lot of options and is designed so that the process is easier than it sounds.
WP Rocket plugin for WordPress websites
This caching plugin allows you to optimize your website to the moon 🚀 This is one of those must-have WordPress plugins if you want sky-high Google PageSpeed Insight results. It is also a great plugin if you want to achieve a high conversion rate. Remember, a fast website equals high Google ranks. High Google ranks equal high conversion rates.
WP rocket as a caching plugin will delay JavaScript and remove unused CSS. Furthermore, it will minify files. Lastly, it will LazyLoad images, videos, etc. All of these things are conducive to a better-performing WordPress website.
Check out our blog about 👉 SEO & high conversion rates 👈
WordPress automation plugin
Automator WP
This plugin allows you to automate certain processes on your WordPress websites. For example, you can automate your sales process without having to use any added code snippets. You can combine multiple plugins to create an entire workflow.
This automation plugin allows you to:
- Automate actions that are a reaction to certain triggers
- Add filters to any automated actions
- Set up a number of times a certain action is required before something else is completed automatically.
Best WordPress development plugins
We offer custom WordPress plugin development. If you cannot find the WordPress plugin you are looking for, our team of developers can help you.
Certain functionalities on your WordPress website cannot be developed with the appropriate plugin. If you wanted to, you could have a plugin for everything and anything. A plugin can improve user experience. It can do so, by increasing engagement in your products which, will boost your chances for more sales. A trustworthy plugin can help you better expand your site and business.
Do you want to check the health of your website?

Frequently asked questions about WordPress plugins:
What are WordPress plugins?
WordPress plugins are apps that allow you to add new features and functionality to your WordPress website.
Why are WordPress plugins important?
A plugin is an essential component of a WordPress page. It helps you add important functions to your Web page, such as adding contact forms or improving SEO. It is possible for anyone to create a website using plugins. There are millions of WordPress plugins available online, these are the best WordPress plugins to add.
How do I use WordPress plugins?
There are a few methods. You can simply find the plugin you want in the WordPress plugins database and install it directly from there, or you can upload manually the *.zip file of the plugin.
Are WordPress plugins free?
It depends on the plugin. Many of the plugins are valid in both free and premium (paid) versions, it depends on your needs and what version you should use. Premium versions often offer much more than free versions (e.g. ACF, Yoast SEO, etc.)
Are plugins necessary for WordPress?
Plugins are not necessary. If we don’t need any additional functionalities that are not built-in on WordPress, we don’t have to install any plugin.
How many plugins are too many for WordPress?
There is no such thing as “too many plugins”, however, the more plugins we use, the higher chance that some of them won’t work properly with each other.
Should I delete inactive plugins?
There is no need to delete inactive plugins. You should delete them only if you want to save space on your server or if you need to clean up the mess in your plugins tab.
Do inactive plugins affect site speed?
Inactive plugins are ignored by WordPress, so they don’t impact the site speed. Even if we have dozens of inactive plugins, it should not affect the performance.
How many plugins do I really need for WordPress?
It depends on what functionalities you need on your website. Some websites don’t need even 1 plugin, the other needs a lot. In most cases, we’ll need a few plugins for SEO, site optimization, forms, etc.
What to look for when picking a WordPress Plugin?
When we want to install a WordPress plugin, we should make sure that it will serve our purpose. Secondly, we should install only regularly updated plugins. We should also check the plugin reviews and install only well-rated ones.
Are WordPress plugins open source?
Most WordPress plugins are open source, just like WordPress itself.
Can WordPress plugins contain viruses?
The plugin itself does not contain a virus, however like any other piece of software it is at risk of for malware and hacking. This is why when we install a plugin, we have a list of top plugins that are secure. Additionally, it is important to remember that the more plugins you add to your WordPress site, the greater the change of hacking.
How to update WordPress plugins?
You can update your WordPress plugins using the WordPress dashboard. You can find a list of all plugins that are installed in your website and see if any need to be updated. You can usually update a plugin with one simple click. If any other actions are required, you will be instructed on how to do so. You can also, ask WordPress developers to help you update plugins.
Conclusion about WordPress plugins
Our WordPress developers make sure that your website allows for the easy addition of features and functions. Just let us know which features and functions suit you the best. It’s impossible to use dozens of WordPress plug-ins to build your website with ease. So be careful with WordPress Plugin installation. We try to limit the number of WordPress plugins we install to ensure a highly functional but secure website. Activation of too many plugins on a website could lead to slow loading times or increase the risk. It is equally vital to select trusted plugins. Check for active installed WordPress plugins and review pages on WordPress. Also, our 👉WordPress Support 👈 team is aware that frequently updated plugins can be easier to use and have less risk of problems.
Comments