 Skip to Navigation
There are numerous ways you can improve your company’s WordPress website. Some of the basics include cleaning up your site, feeling the need for speed and so much more. Let’s explore the different ways you can make your company’s site better.

There are several ways to improve your company’s WordPress website and take it to the next level. From optimizing your site’s speed to creating engaging content, these tips will help you stand out in a sea of competitors. So, if you’re looking to boost your online presence and drive more traffic to your website, keep reading to discover 18 ways to improve your company’s WordPress website.
Why do you need to improve your company’s WordPress website?
There are several reasons why a company may need to improve its WordPress website, some of which include:
1. Enhancing user experience: A website that is easy to navigate, visually appealing, and offers intuitive functionality will make it easier for visitors to find what they are looking for and encourage them to spend more time on the site. This can lead to increased engagement and conversions.
2. Updating outdated design: An outdated design can give the impression that a company is behind the times or unprofessional. By updating the design of the website, a company can present a fresh, modern image to its visitors.
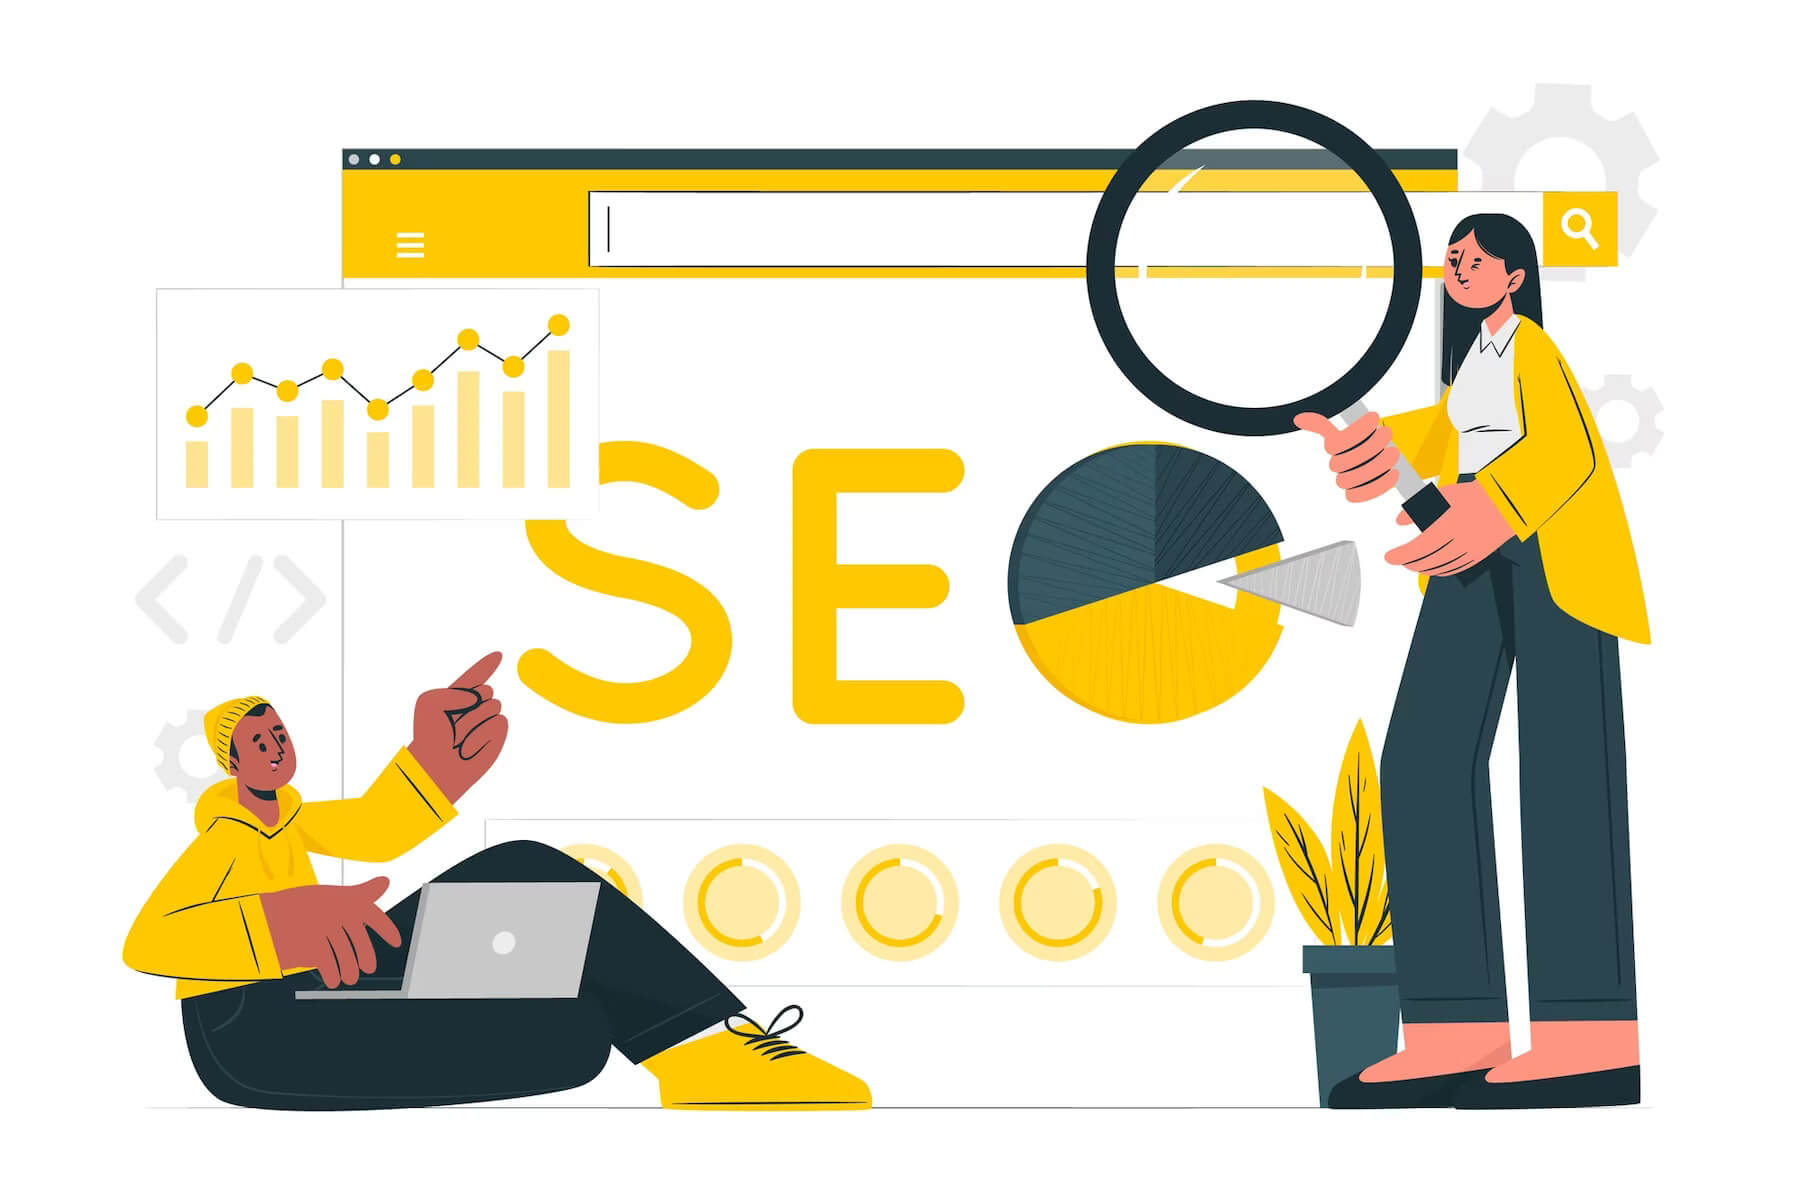
3. Improving search engine visibility: A website that is optimized for search engines can help a company’s pages rank higher in search engine results pages (SERPs). This can lead to increased visibility and traffic to the site.
4. Incorporating new features and functionality: As a company grows, it may need to add new features or functionality to its website to meet the needs of its customers. For example, it may need to incorporate e-commerce functionality or integrate with third-party services.
5. Improving site speed and performance: A slow website can negatively impact user experience and lead to high bounce rates. By improving site speed and performance, a company can ensure that its visitors have a positive experience and are more likely to stay on the site.
Tips to improve your Company’s WordPress site
We have compiled a list of tips to help you improve your company’s WordPress site. Let’s explore each item in more detail.
Invest in your site
The biggest mistake you can make is not investing in your site. You need to invest in your site to make money from your site. Moreover, investing in your site at the beginning and over time will ensure that your site will run properly for a long time to come.
Custom theme
You should invest in a custom WordPress theme to better personalize and optimize your site. Using a pre-made free theme will gain a bloated theme with all the blows and whistles. You will use maybe 30 percent of these features and the unused features will slow down your WordPress site. They will reduce the load time of your WordPress dashboard and your front end.
Moreover, you may not be able to personalize your site as much as you like. With a pre-made theme, you may be given a function with only two or three ways to personalize it. And perhaps neither of these options fits what you are looking for. Whereas with a custom WordPress theme you have everything made to your exact needs.
You get only what you want and ask for in the brief. So your site is not overloaded with things that you don’t need or don’t use. If down the line you want something more, you can ask Acclaim developers to build it for you.
Web hosting provider
Pick the right hosting provider for your WordPress site to improve site speed, performance, and so much more. You can have the exact same site on various hosting providers and will end up with different performance and speed quality.
By picking the right hosting provider you can speed up WordPress. One hosting provider that we recommend to all our customers is 👉 Cloudways 👈. This hosting provider is designed with WordPress sites in mind. It is easy to scale, it is built on a cloud structure, and is ultra-fast.
Website support & maintenance
Not investing in 👉 WordPress support & maintenance 👈 can have many consequences down the road. The first consequence is your site is vulnerable to security breaches. Also, you risk not gaining new features. Your site becomes outdated. Moreover, minor issues build up to create bigger issues. These bigger issues can lead to the breakdown and crash of your WordPress site.
But if you use WordPress support services, you can avoid these problems as all minor problems will be resolved quickly. Therefore, they won’t be built up to create a massive issue that will cost you loads of money. Moreover, your site will be ahead of the curve, on-trend, and running smoothly. Remember it’s cheaper to pay for cyclical support than to rebuild your site from scratch after it dies.
Clean up the back-end & front-end
Another step to improve your company’s WordPress site is to tidy up the mess. You want to thoroughly clean the front end and back end of your site. By doing so you will improve a number of things on your site, such as speed, functionality, user experience, etc.
Where to start with front-end WordPress site cleaning?
There are a number of things you should look at when looking to clean the front end of your WordPress site. The first thing you want to do is update your theme and make sure that each aspect of the theme is working properly.
Moreover, you want to redirect any pages that may have been deleted from your site. This way your user doesn’t encounter a 4o4 error. Also, you want to update any images, videos, etc. to keep it fresh and clean for your user.
Do you want to check the health of your website?

What about the backend?
You may also want to clean up your backend. So you should probably start with cleaning up WordPress plugins. On average you should have around 👉 10 to 20 plugins 👈. If you find that you have over 40, 70, or 100 plugins, then something isn’t right. While WordPress is built on various plugins, you can ask developers to create features with simple code that will be a more secure solution than installing yet another plugin.
Having a plethora of plugins can increase security issues. Each plugin is built by a different author which means there is more chance of human error in the code. A loophole in the code can cause your site to be attacked by viruses or bots. Moreover, it can allow a hacker to exploit your site and steal valuable data.
If you are not using certain plugins uninstall them completely so that they do not slow down your WordPress site. Moreover, there is less code to process and potentially to hack through.
You also want to clean your media library and delete any unused images, videos, etc. Moreover, you want to focus on image optimization to have files that are formatted WebP that are speed & performance friendly. Also, you want to compress media files so that they do not overload the back end of your WordPress site.
Is your WordPress site functional?
Here’s a big one does your WordPress site function properly? Do all the bells, whistles, and dodads work? It’s not enough to have it on your site, you should click through your site and make sure that everything works properly so that your user doesn’t get frustrated that something is not working.
Does the search bar on your site work?
If you have a search bar on your site for your users to use, make sure that it works properly. If a user types in the name of a service, product, or blog title that it will generate what’s on your site.
Many times here at Acclaim, we come across websites with a search bar that unfortunately does not work properly. This is annoying for the user and makes navigating your site more difficult. As the user has to scroll through or click through to find what they are looking for, instead of just typing it in.
Test your site for speed & performance
If you are looking to speed up the WordPress site the first place to start is by running free speed & performance tests. Some examples of free tests include PageSpeed Insights and Pingdom. These tests should show you 👉 why your WordPress site is slow 👈. Moreover, they can provide developers with information as to where the performance issues may arise and what may be the cause.
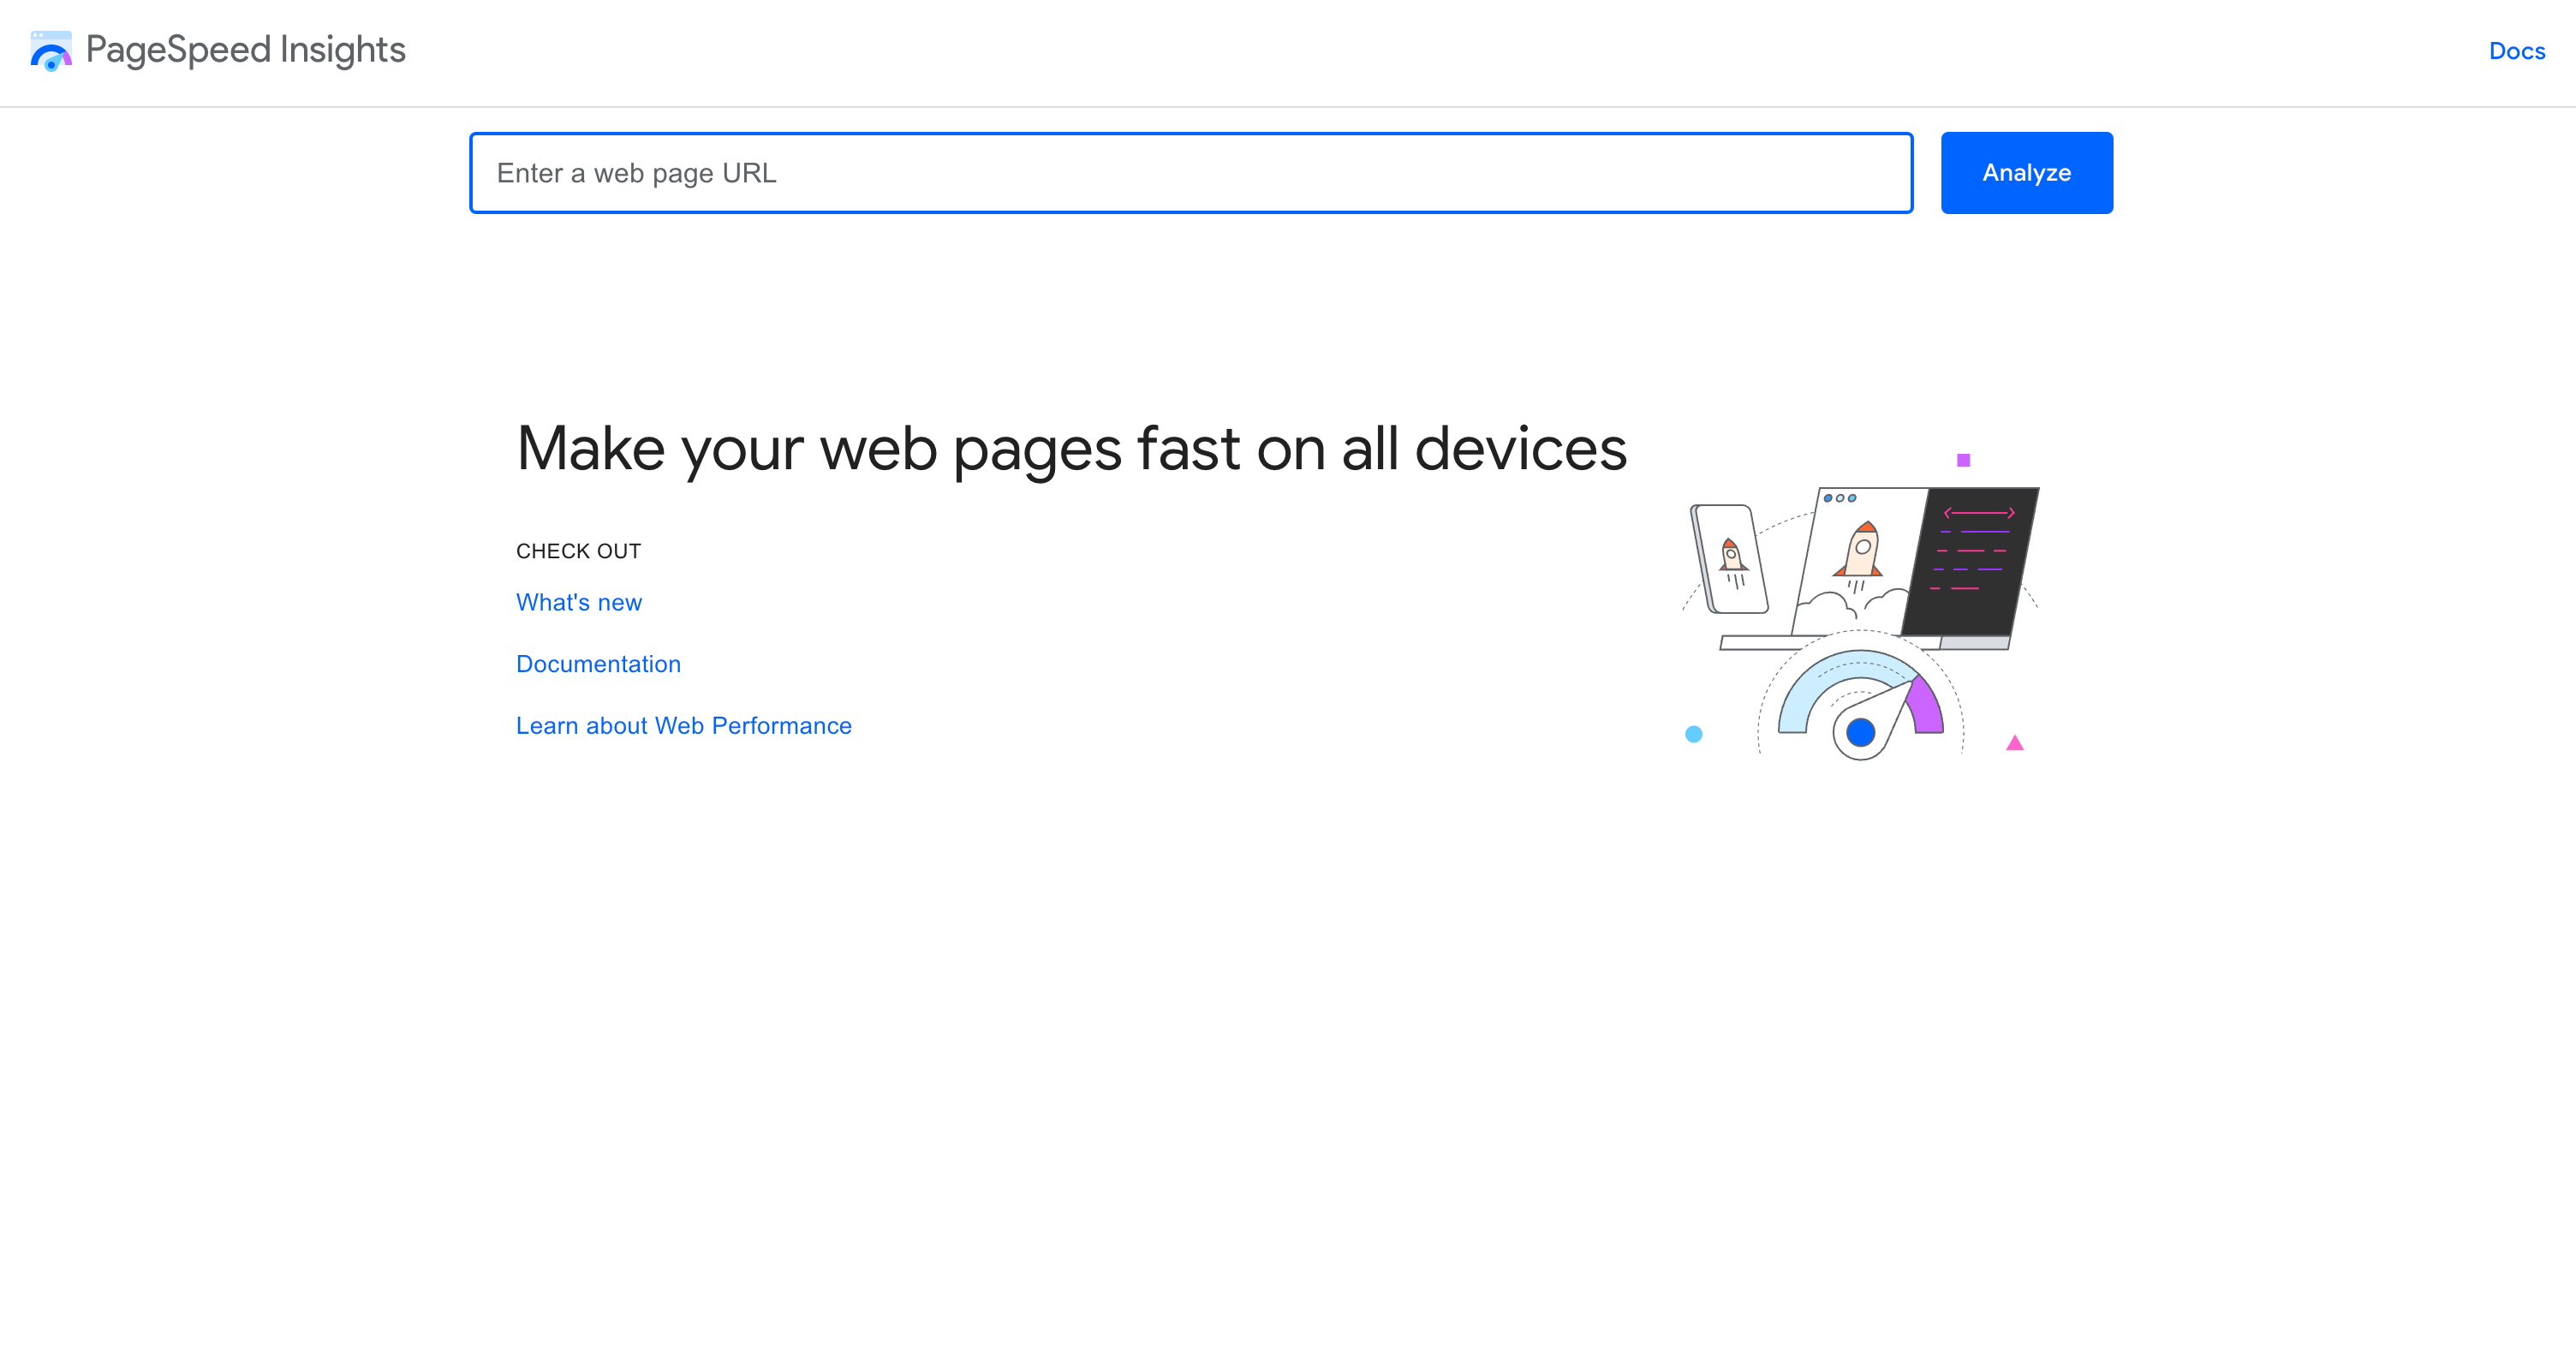
Google PageSpeed Insights and Pingdom Speed Test are both valuable tools that can help you assess the performance of your WordPress website. By running these tests, you can gain insights into how fast your website loads, and identify any areas that might be causing slowdowns or performance issues.
Google PageSpeed Insights is a free tool provided by Google that analyzes your website’s performance and provides a score based on a range of factors, including server response times, image optimization, and code efficiency. The tool generates a report that includes a detailed breakdown of each element of your website, along with recommendations for improvement.

Pingdom Speed Test, on the other hand, is a tool that tests your website’s performance from multiple locations around the world. It provides a breakdown of how long it takes for each element of your website to load, including HTML, CSS, and images.
Both tools can help you identify areas where your website may be experiencing slowdowns or performance issues. For example, if you notice that your website’s server response time is slow, you may need to consider upgrading your hosting plan. Or you want to optimize your code to improve performance. If you notice that your images are not optimized, you may need to compress them. Another option is to use a content delivery network (CDN) to improve load times.
Improve your site speed based on the results
You can consider implementing some of the following strategies:
- Optimize images: Use compression tools to reduce image file sizes, or use a CDN to serve images from a faster server.
- Minimize HTTP requests: Combine CSS and JavaScript files, and use a caching plugin to reduce the number of HTTP requests needed to load your website.
- Use a caching plugin: Caching plugins can help speed up your website by storing frequently accessed files in a cache.
By implementing these strategies and regularly testing your website’s performance using tools like Google PageSpeed Insights and Pingdom Speed Test, you can improve your website’s speed and provide a better user experience for your visitors.
Make sure your home page loads quickly
Your homepage should have a fast load time to attract and keep users. If a website visitor is looking for the brand or happens to come across your home page, you want it to load quickly. This way you can hopefully keep the user on your site and perhaps they will click through a few more pages.

Your blog posts should feel the need for speed
Another page type that you want to be optimized for speed is your blog posts. Your blog posts are usually the first page that your visitors reach via a search engine. You want them to load quickly to reduce the bounce rate. And hopefully, if your blog post is intriguing then your website visitor will move on to another post on your site.
Use a content delivery network (CDN) to deliver your site to a visitor’s browser
You should consider using a content delivery network (CDN) to improve the performance of your WordPress site. Here are a few reasons why the switch from a web server to a content delivery network is worth it:
1. Faster load times: A CDN can distribute your site’s content to multiple servers around the world, which can significantly reduce the time it takes for your site to load for users in different locations.
2. Improved user experience: Faster load times can lead to a better user experience, which can help increase user engagement, reduce bounce rates, and improve your site’s search engine rankings.
3. Reduced server load: By offloading some of the content delivery to a CDN, you can reduce the load on your own server, which can help improve the overall performance and stability of your site.
4. Increased scalability: A CDN can help your site handle increased traffic during peak periods, without requiring you to upgrade your own server resources.
5. Better security: Some CDNs offer additional security features, such as DDoS protection, which can help protect your site from malicious attacks.
Overall, a CDN can help improve the performance, reliability, and security of your WordPress site, while also providing a better user experience for your visitors.
Update any outdated content
Keeping your company website up to date is essential for providing an optimal user experience. Outdated content can have a negative impact on website visitors, leading to decreased engagement and trust. Updating any outdated content on your WordPress site is the best way to ensure that it remains relevant and engaging.
Not only will this improve the overall user experience, but it will also help boost your company’s search engine rankings by adding fresh content. By regularly updating any outdated content on your WordPress site, you can ensure that visitors have access to the most current information about your company and products.
A good way to keep up track of any content changes is to use post-revisions. It will show you how many times something has been changed, edited, etc. Moreover, it will enable you to return to any previous post version if you need to.
Provide useful content for your website visitors
Generating content in today’s world with ChatGTP is no longer a problem. You can create hundreds of blog posts in just a few minutes. These blog posts can be fantastic as a starting point because more and more people use this technology. But the quality of any blog post from ChatGTP should be revised to give your customer value.
Now, Google is going to be working harder to create algorithms that check website content for value. It’s not enough to have headings and keywords anymore. Your text needs to reach customers on a human level. Google will promote text that gives people value, not just headings and keywords. If Google promotes your site by putting it up high in the rankings, then there is a really high chance that you will start to see some money from your site.
Double-check those permalinks
Permalinks are the URLs that direct users to specific pages or posts on a website. It is important to double-check and ensure that permalinks are accurate because they are the primary means by which users and search engines navigate your site. A broken or incorrect permalink can lead to a bad user experience and negatively impact your website’s SEO performance.
Permalinks should also be SEO-friendly, which means they should be descriptive and keyword-rich, reflecting the content of the page or post they lead to. This helps search engines understand the context of your content and can improve your website’s visibility in search engine results pages (SERPs).
Validating permalinks is crucial to ensure they are functioning properly and correctly directing users and search engine bots to the intended pages or posts. Broken links or redirects can negatively affect the user experience, slow down page load times, and hurt your SEO performance.
To validate permalinks, you can use online tools such as Broken Link Checker or Google Search Console, which will scan your website and identify any broken or incorrect permalinks. You can also manually test your permalinks by clicking on them to ensure they direct to the intended page or post.
In summary, double-checking and validating permalinks is important to ensure they are accurate, SEO-friendly, and functioning properly, which can improve the user experience, page load times, and your website’s visibility in search engine results pages.

Make sure your contact forms are working properly
Another key way to improve your company website is to make sure that your contact forms are working properly. Contact forms on your website are vital for communication, making orders, etc. You want them to work properly. Many times a contact form is created with the help of a plugin. And when you update that plugin, it may impact the functionality of your contact form.
Install security scanners & firewalls
Installing security scanners and firewalls for your WordPress site is essential for protecting it against various security threats, such as hacking attempts, malware infections, and DDoS attacks. Here are some reasons why you need to install these security measures:
1. Protection against brute-force attacks: Security scanners and firewalls can prevent unauthorized access to your WordPress site by blocking malicious login attempts.
2. Malware detection and removal: These security tools can scan your site for malware infections and remove them before they cause significant damage.
3. DDoS protection: Firewalls can prevent Distributed Denial of Service (DDoS) attacks that can overload your site’s servers and cause them to crash.
4. Vulnerability scanning: Security scanners can detect vulnerabilities in your site’s code, plugins, and themes and notify you about them so that you can take the necessary steps to fix them.
In addition to security scanners and firewalls, you can also use code to make your WordPress site more secure against hackers. Here are some tips:
1. Use strong passwords: Weak passwords are easy to guess and can be easily hacked. Use strong passwords that contain a mix of uppercase and lowercase letters, numbers, and symbols.
2. Limit login attempts: Limiting the number of login attempts can prevent brute-force attacks.
3. Use two-factor authentication: Two-factor authentication adds an extra layer of security by requiring users to provide two forms of authentication before accessing the site.
By implementing these measures, you can significantly improve the security of your WordPress site and protect it against potential threats.

Dominate your competitors & take over the world
WordPress is the most 👉 popular content management system 👈 (CMS) and is used by millions of websites around the world. It is a powerful tool to create a website, but it needs to be optimized in order to get the best performance and highest search engine rankings. Improving your WordPress website can help you dominate your competitors and take over the world!
By optimizing your WordPress theme, improving site speed, and optimizing for higher search engine rankings, you can drastically improve your website’s performance. This will result in more visitors to your site, more leads, more revenue, and an overall improved page speed. With these improvements, you can easily stand out from the competition and make sure that you are getting the most out of your WordPress website.
TL;DR: Summary of how to improve your company’s WordPress websites
Let’s give you the quick points version of how you can improve your company’s WordPress site:
- Invest in your site by using a custom theme, and quality hosting provider, and taking advantage of cyclical support services.
- Clean up the back-end & front-end
- Test your site for speed & performance
- Update any outdated content
- Make sure your contact forms are working properly
- Install security scanners & firewalls
All of these points will help you improve your site so that you can dominate your competitors and take over the world. Use your website to bring your business more money and put it over the top. Want to improve your WordPress site, 👉 drop us a line 👈, and let’s chat. Let’s have a free no-obligation conversation on ways you can boost your WordPress website.
Comments